The homelab project
- Posted on May 26, 2023
- cloud, kubernetes, engineering, hobbies
- By Carlos Camacho
Homelabs, also known as home data center, refers to a personal setup created by technology enthusiasts or professionals in their homes for learning, experimentation, or production purposes. It typically consists of a collection of computer hardware, networking equipment, and software that simulates or replicates a professional IT environment.
Homelabs serve various purposes, including:
-
Learning and Skill Development: Many individuals use homelabs to enhance their knowledge and skills in areas such as system administration, networking, virtualization, storage, and cybersecurity. It provides a hands-on environment to experiment with different technologies, configurations, and software without the constraints of a production environment.
-
Testing and Prototyping: Homelabs offer a safe and controlled environment to test new software, applications, or hardware configurations. It allows individuals to evaluate their performance, compatibility, and feasibility before deploying them in a production environment.
-
Personal Projects and Services: Some people build homelabs to host personal projects, services, or applications. For example, they may set up media servers, game servers, file sharing platforms, or websites to meet their specific needs or interests.
-
Home Automation and Internet of Things (IoT): Homelabs can be utilized for setting up smart home automation systems and experimenting with IoT devices. This enables individuals to control and manage various aspects of their home, such as lighting, temperature, security, and entertainment systems.
-
Data Storage and Backup: Homelabs often include storage solutions like Network-Attached Storage (NAS) or storage area network (SAN) devices, which allow users to store and backup their data locally.
Homelabs can range from a single server or a few network devices to a comprehensive setup with multiple servers, switches, routers, and other equipment. They can be built using off-the-shelf components or repurposed enterprise-grade hardware, depending on the user’s requirements, budget, and level of expertise.
While building and maintaining a homelab can be challenging, it can also be a rewarding and educational experience. The availability of upstream communities and resources can help you overcome difficulties and find support from other homelab enthusiasts. Start with a clear plan, research thoroughly, and take it step by step, adjusting your goals and complexity as you gain experience.
Origins
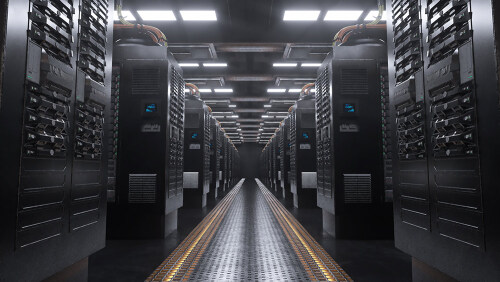
Datacenters are large-scale facilities designed to house and manage extensive computing infrastructure for businesses or organizations. They have high-end server racks, robust networking equipment, redundant power and cooling systems, and advanced security measures. Datacenters offer scalability, reliability, and support for critical operations, often involving multiple clients or users. In contrast, homelabs are personal setups in individuals’ homes used for learning, experimentation, or small-scale production. They typically consist of a collection of hardware, networking devices, and software. Homelabs provide a controlled environment for skill development, testing, and hosting personal projects, but on a smaller scale with limited resources and fewer users.

The ideal homelab architecture typically includes a combination of components to create a versatile and powerful setup. It starts with robust server hardware, whether it’s rack-mounted servers or repurposed desktop machines, equipped with ample processing power, memory, and storage capacity. Networking equipment such as routers, switches, and firewalls play a crucial role in connecting devices and enabling communication within the homelab. Virtualization software like VMware or Hyper-V allows for the creation and management of virtual machines, enabling efficient resource utilization. Storage solutions, including NAS (Network Attached Storage) or SAN (Storage Area Network), provide ample storage capacity for data and backups. Additionally, monitoring and management tools help ensure the stability and performance of the homelab environment. The ideal architecture emphasizes flexibility, scalability, and the ability to experiment with various technologies and configurations to meet specific learning or project requirements.
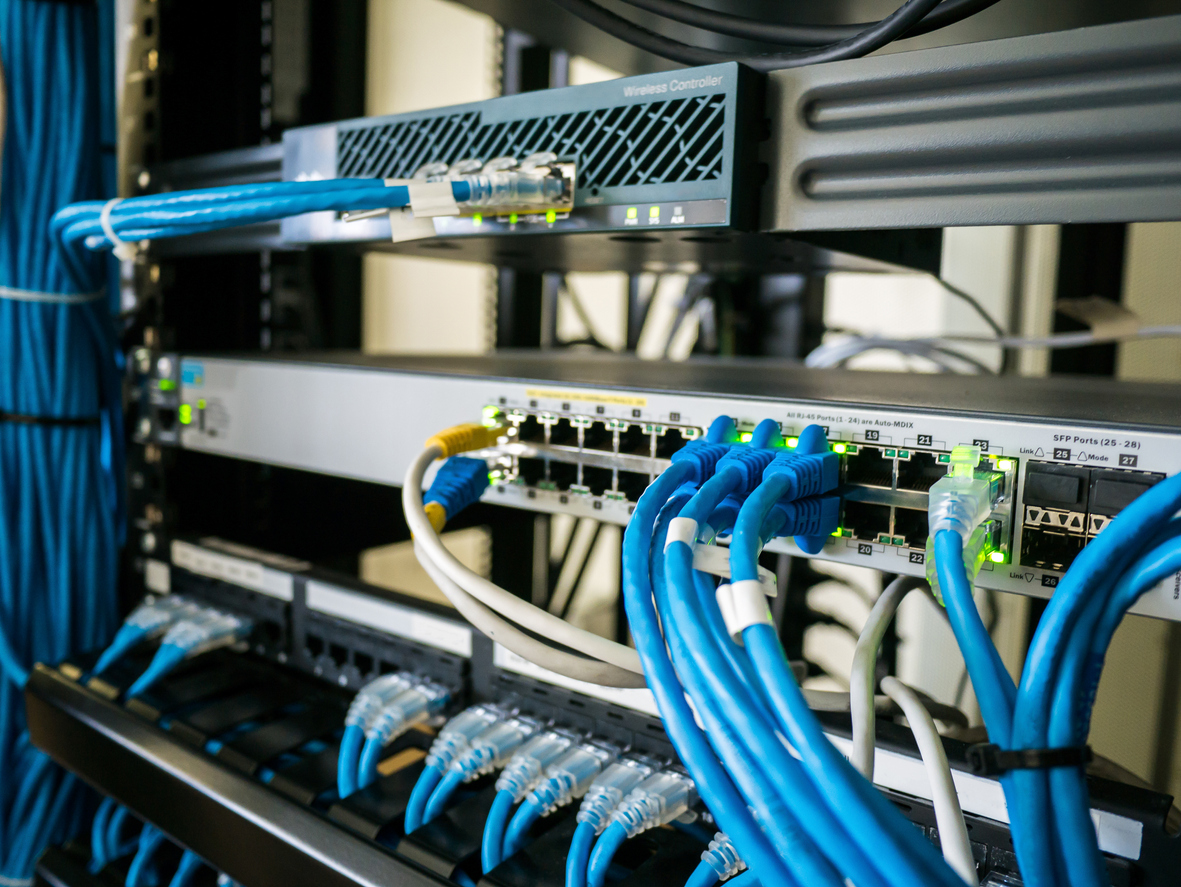
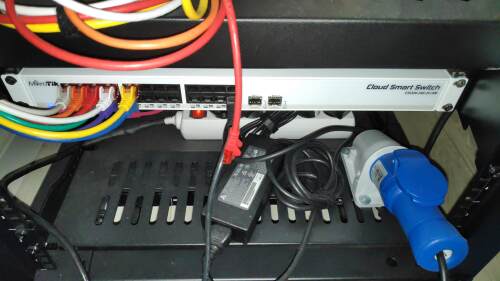
Networking is a crucial component in an ideal homelab architecture, enabling devices to communicate and share resources effectively. It starts with a reliable and feature-rich router that provides internet access and manages IP addresses. A network switch connects multiple devices within the homelab, allowing seamless communication. Managed switches offer advanced features for improved network performance and segmentation. Implementing a firewall ensures the security of the homelab, protecting against unauthorized access. Additionally, utilizing technologies like VLANs and QoS can enhance network efficiency and prioritize traffic. Proper networking setup enables connectivity, facilitates the sharing of services and resources, and creates a robust foundation for various homelab activities and projects.
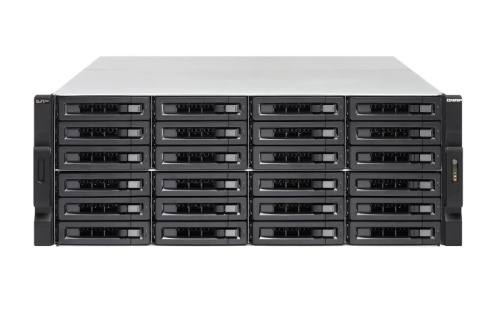
Storage is a critical component in an ideal homelab architecture, providing ample space to store data, virtual machine images, and backups. Network Attached Storage (NAS) or Storage Area Network (SAN) solutions offer centralized storage with high capacity and performance. NAS devices are easy to set up and provide shared file access over the network, making them suitable for storing media, documents, and backups. SANs, on the other hand, deliver fast and reliable storage for virtual machine environments, supporting features like RAID, snapshotting, and replication. Additionally, leveraging cloud storage services can provide off-site backups and enhance data accessibility. By incorporating a robust storage solution into the homelab architecture, users can ensure data integrity, scalability, and efficient management of their digital assets.
Compute is a fundamental aspect of an ideal homelab architecture, empowering users to run diverse workloads and applications. It typically revolves around powerful server hardware, which can include rack-mounted servers or repurposed desktop machines with ample processing power, memory, and storage capacity. Virtualization technologies like VMware or Hyper-V allow for the creation and management of virtual machines, enabling efficient utilization of resources and the ability to run multiple operating systems and applications simultaneously. Additionally, containerization platforms such as Docker and Kubernetes offer lightweight and scalable environments for deploying and managing containerized applications. The compute component of a homelab provides the necessary horsepower to support a wide range of experiments, projects, and learning opportunities, empowering users to explore various technologies and configurations.

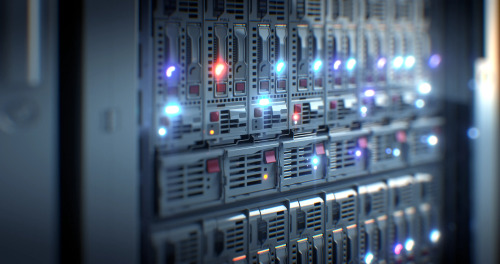
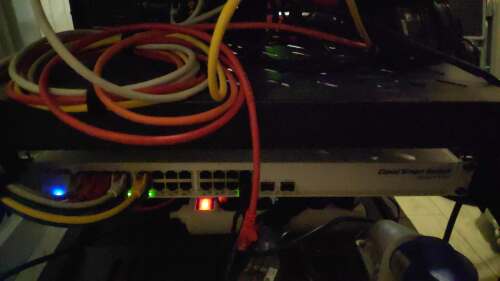
A cool homelab is a sight to behold, with a sleek equipment rack housing powerful servers and illuminated by LED lights. Neatly managed cables run along cable management arms and trays, with color-coded sleeves adding style and clarity. High-performance networking switches, routers, and firewalls display blinking status lights, creating an entrancing visual display. Multiple monitors on a spacious desk provide a command center, surrounded by shelves and storage units for additional hardware. The room is optimized for airflow and ventilation, ensuring the equipment remains cool and efficient. Whiteboards or smart boards adorn the walls, inspiring creativity and organization. This cool homelab is a blend of functionality, organization, and aesthetic appeal, reflecting a passion for technology and a commitment to continuous learning and exploration.
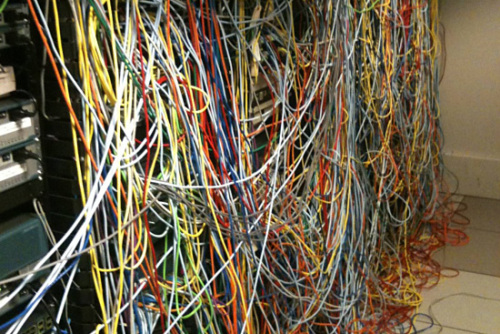
Keeping things organized in a homelab can be a real challenge, but it’s crucial for maintaining efficiency and ease of use. One area that often requires attention is cable management. With numerous devices, power cords, and networking cables, it’s easy for things to become a tangled mess. Implementing cable management techniques such as using cable ties, Velcro straps, or cable management trays can help keep cables organized and prevent them from becoming a jumbled mess. Additionally, labeling cables and ports can make it easier to trace connections and troubleshoot any issues that may arise. Regular maintenance and periodic cable cleanups can go a long way in maintaining a tidy and well-organized homelab.
Aside from cables, proper equipment and component organization also contribute to an organized homelab. Utilizing equipment racks or shelves can provide a designated space for servers, switches, and other hardware. Grouping similar components together and using clear labeling or color-coding techniques can simplify identification and access. It’s also helpful to have a central documentation system to keep track of configurations, IP addresses, and system changes. By investing time and effort into organizing the physical and virtual aspects of the homelab, users can save valuable time during troubleshooting, upgrades, and expansions, ensuring a smoother and more efficient homelab experience overall.
Cabling is a crucial aspect of homelab organization, and a few extra tips can help maintain a tidy setup. Planning the cabling layout in advance, considering cable lengths and future expansions, reduces clutter. Utilizing color-coded cables or cable sleeves simplifies identification. Within server racks or cabinets, employing cable management tools like arms, managers, and routing channels guides cables neatly and improves airflow. Regular cable audits and cleanups remove unused cables and ensure secure connections. Documenting the cabling infrastructure with diagrams or management software aids in troubleshooting and modifications, preventing confusion and saving time. By implementing these strategies, the homelab maintains an organized and efficient cabling system.
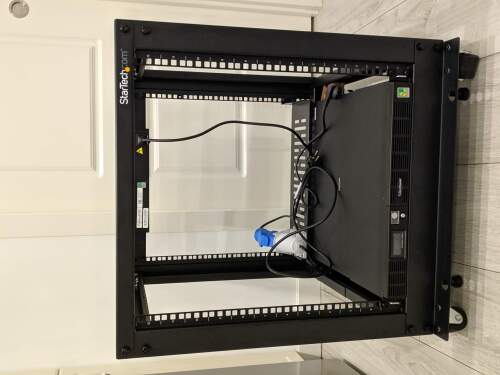
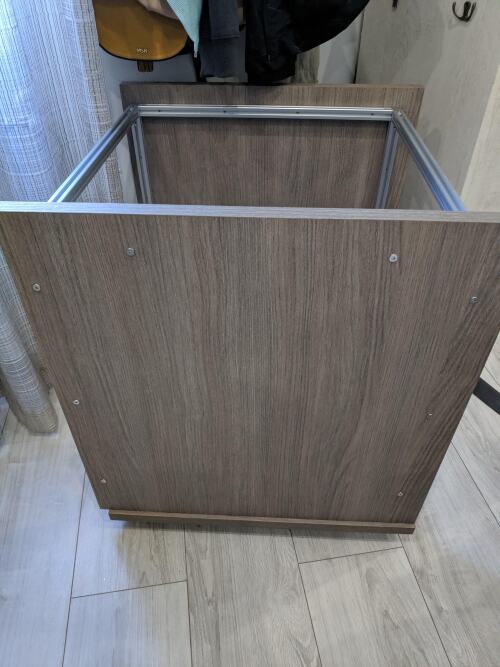
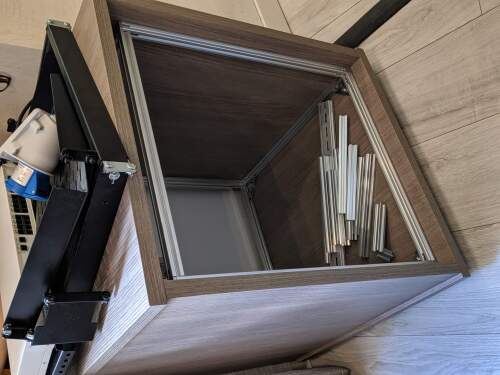
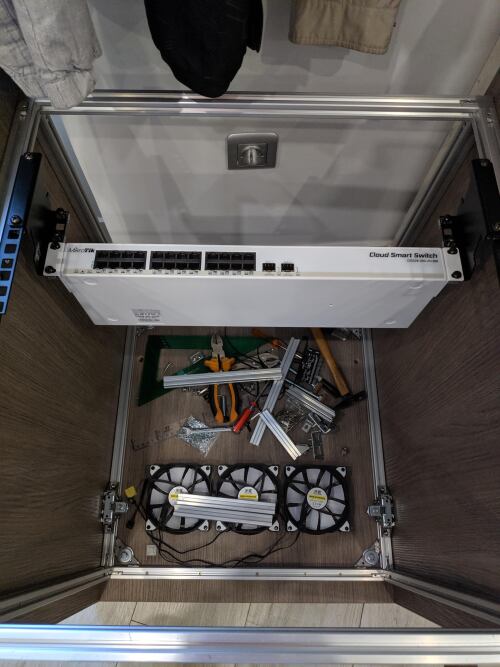
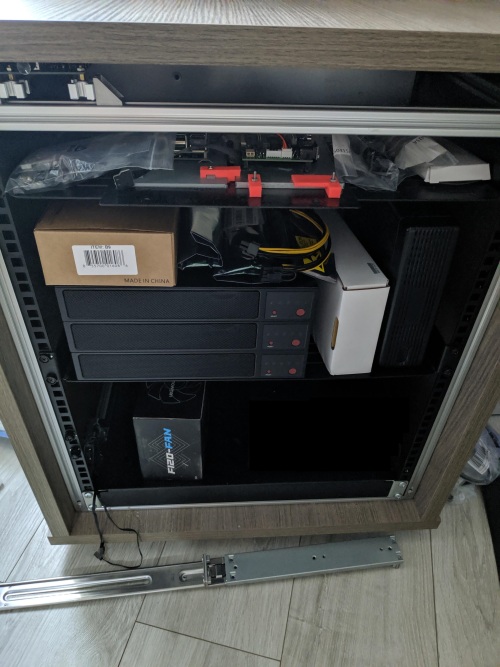
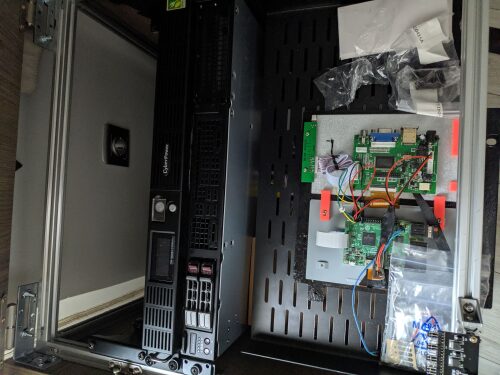
Before
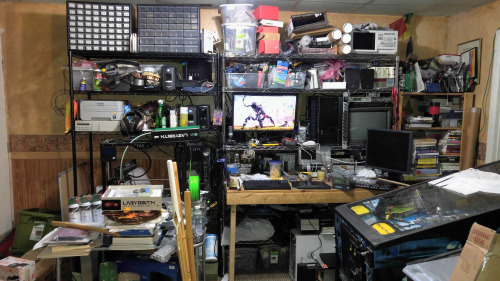
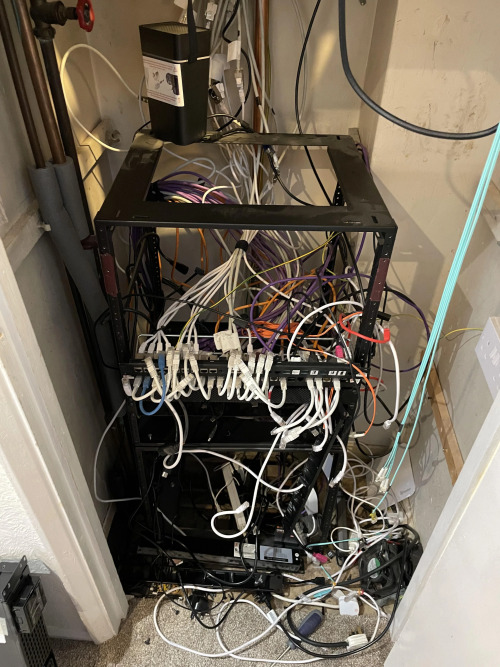
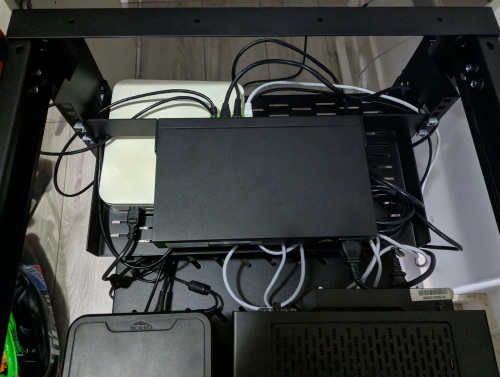
Building a homelab is all about trial and error, and things can get a bit messy and disorganized at times. It’s totally normal! When you start setting up your homelab, you might run into issues and face configuration problems. But don’t worry, that’s how you learn! Embrace the challenges and see them as opportunities to grow your skills. Your homelab might end up looking like a tangled web of cables, but that’s part of the fun.
Take the time to label and document everything-it’ll save you headaches down the road. And remember, there’s a whole homelab community out there ready to help you out when things get rough!
BoM
Next are the details of my enclosure homelab’s bill of materials (BoM). Picture this, a comprehensive list of all the hardware and equipment required to build this box of awesomeness. The BoM is like a treasure map, guiding me through the vast landscape of parts and stuff to deep dive into the heart and soul of my homelab setup. There are many parts not in this BoM list because they are not used in the final layout.
| Item | Quantity | Price | Total | Image |
|---|---|---|---|---|
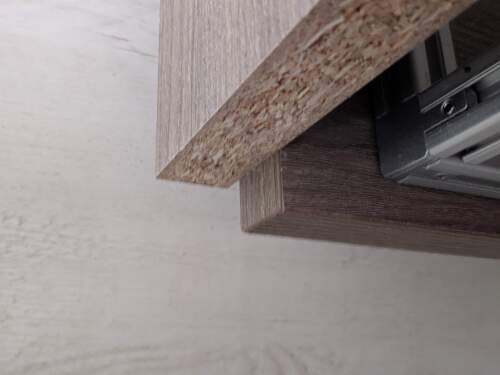
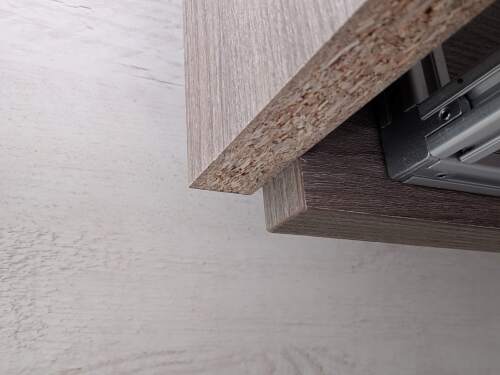
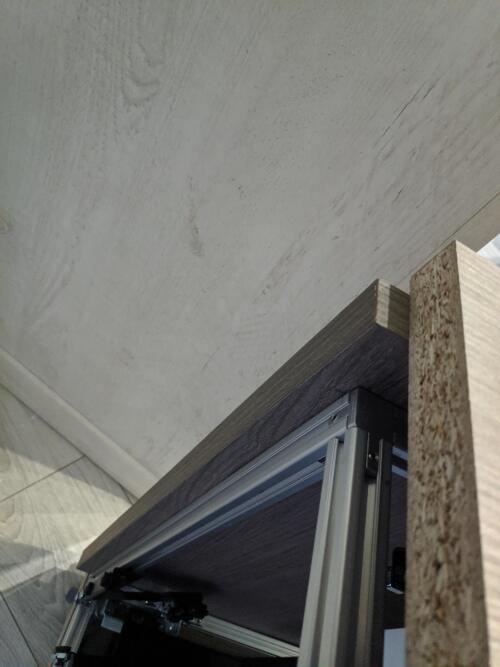
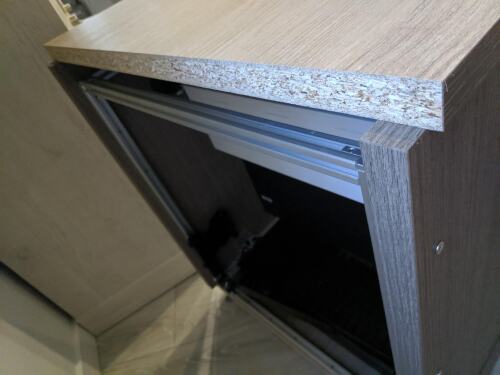
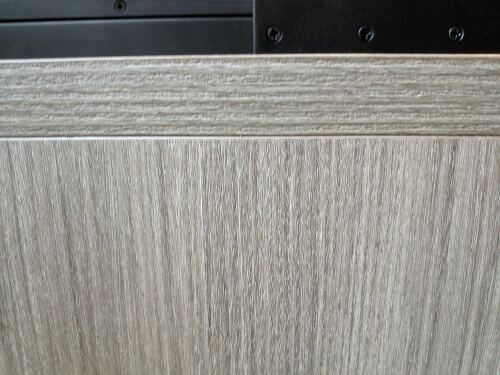
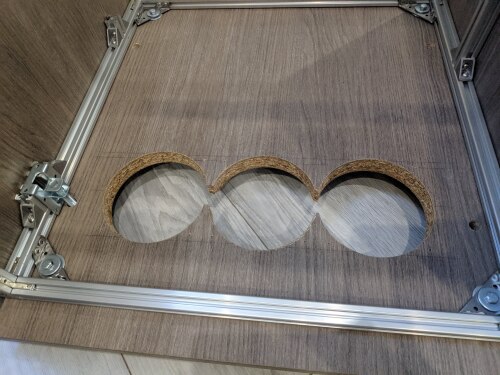
| Countertop (240cm, cut in 2x70cm & 2x50cm) | 1 | TBD | TBD |  |
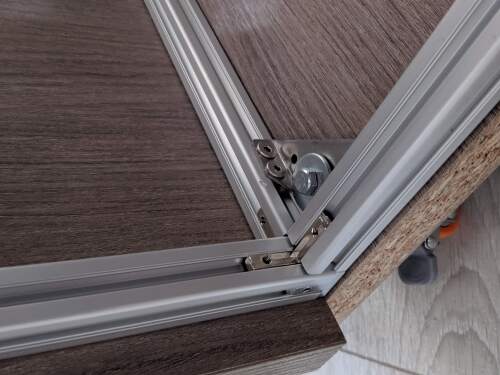
| T-slot 2020 profiles | 12 | TBD | TBD | 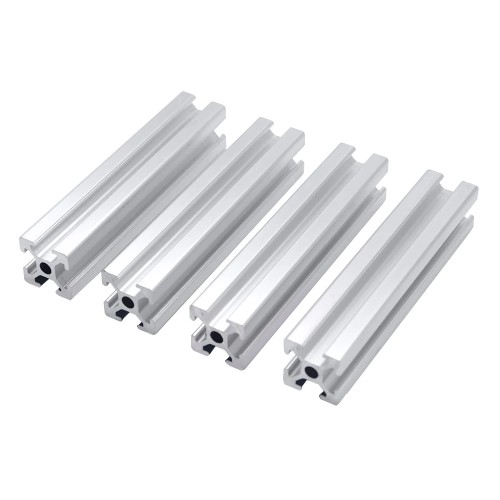 |
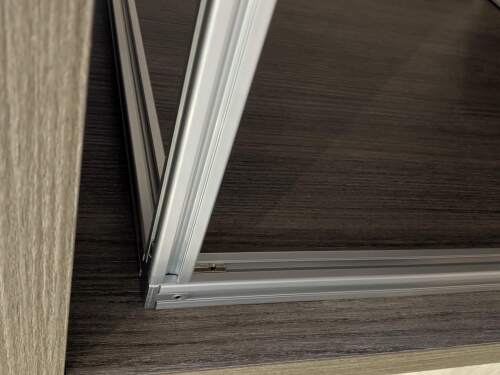
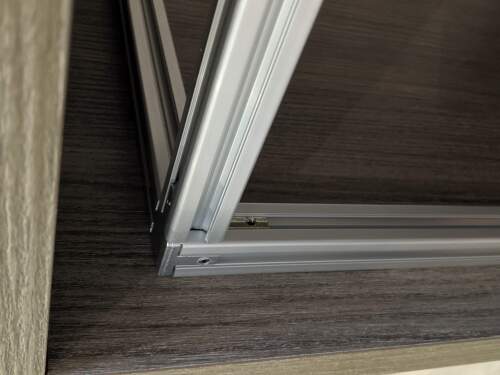
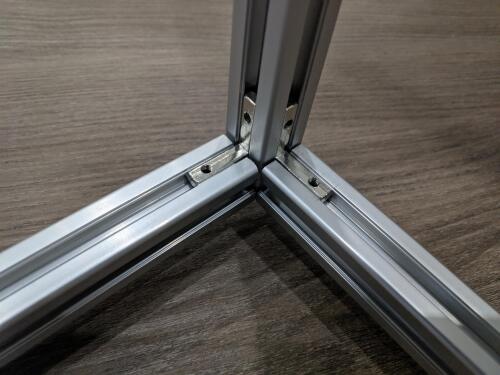
| 3 way connectors | 8 | TBD | TBD |  |
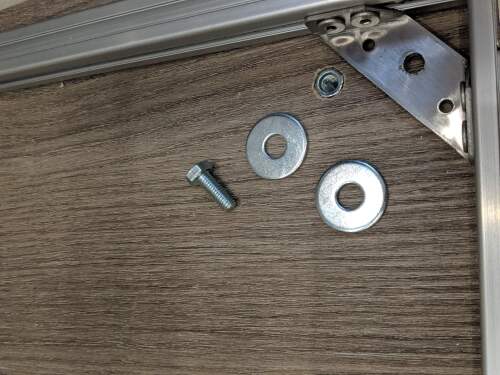
| M4 hexagonal head screws (5mm and 25mm) | 50/50 | TBD | TBD | 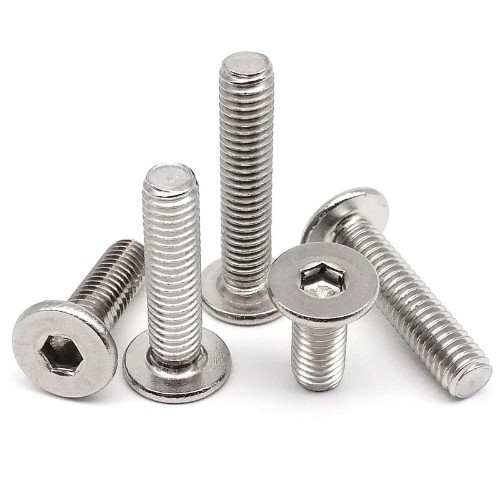 |
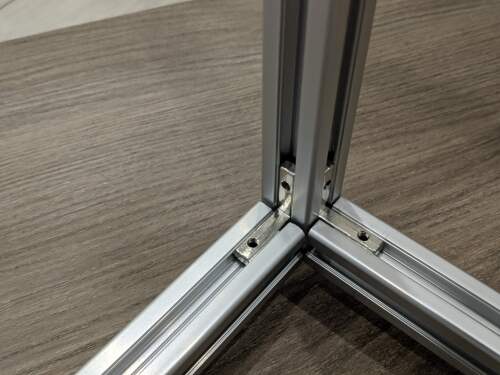
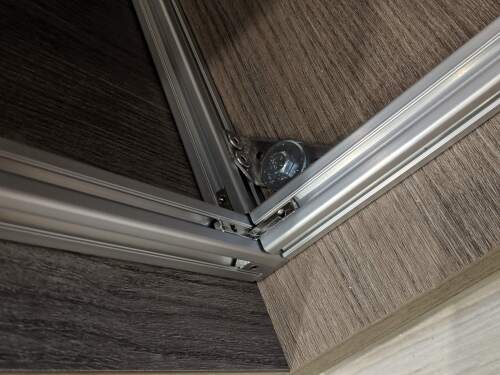
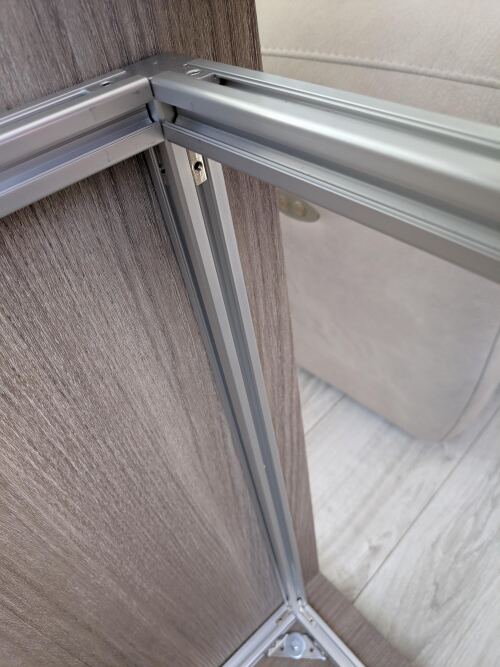
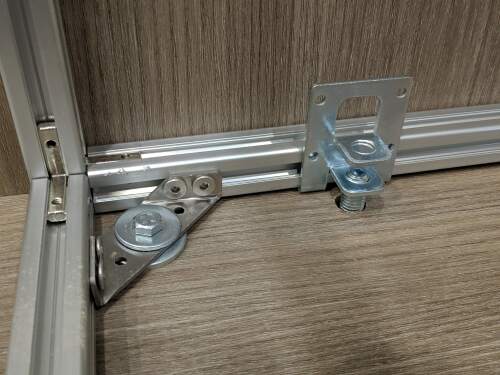
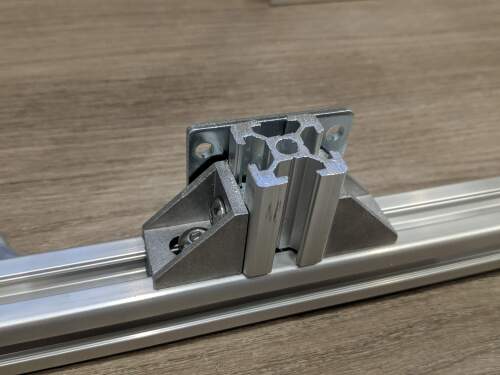
| T-slot 2020 corner connectors | 8 | TBD | TBD | 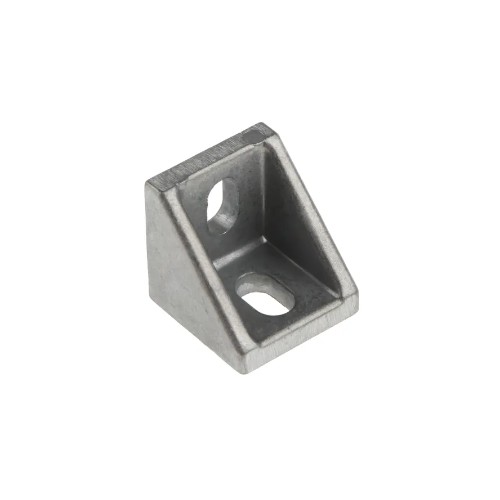 |
| T-slot 90 degrees connectors | 50 | TBD | TBD | 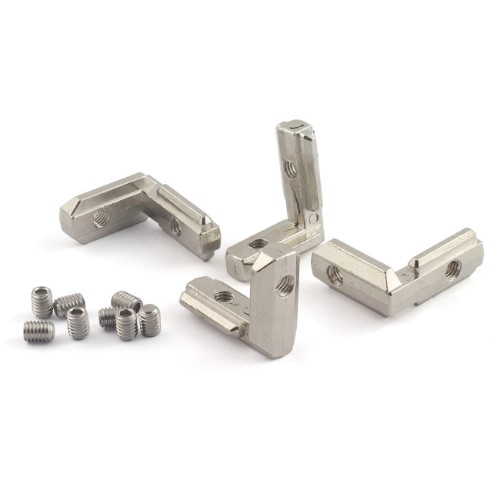 |
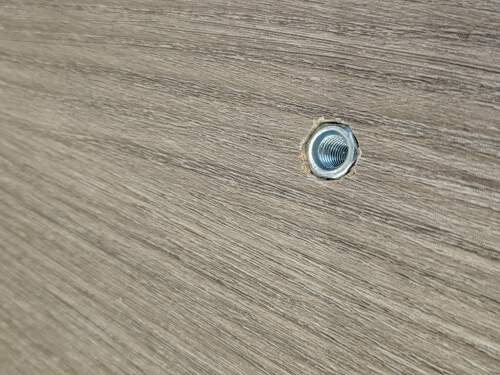
| T-slot M4 nut | 50 | TBD | TBD | 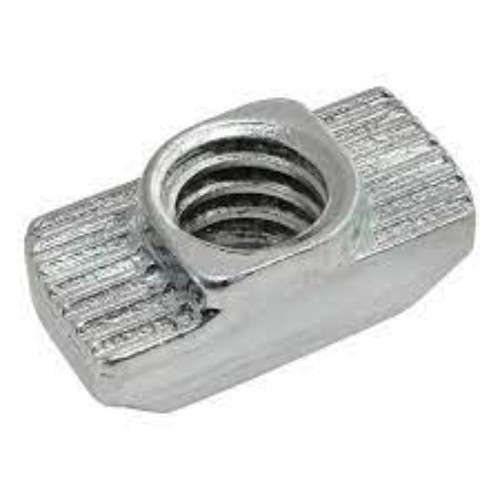 |
| Spax wood screws 2mmx25mm | 50 | TBD | TBD | 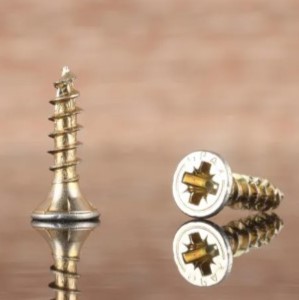 |
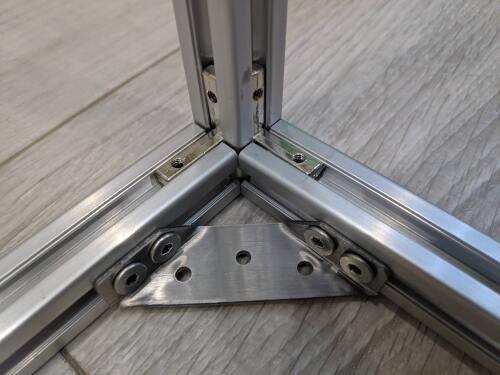
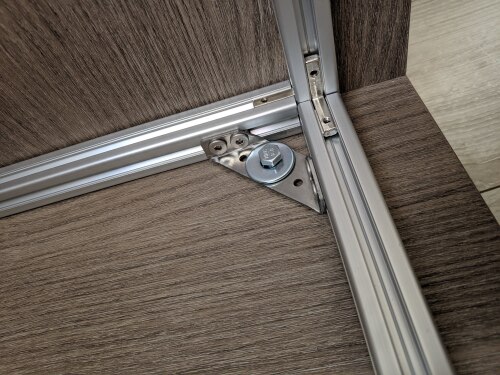
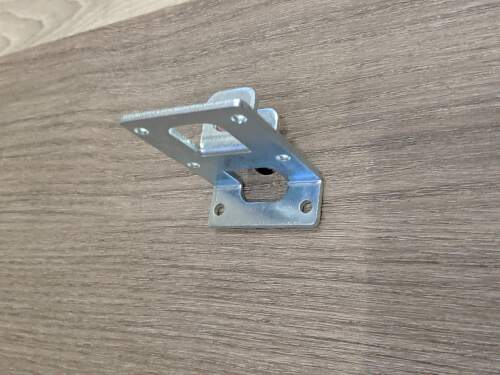
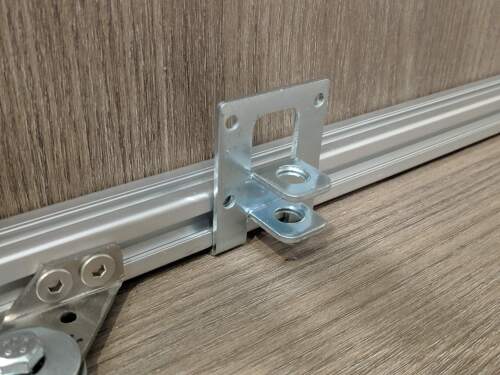
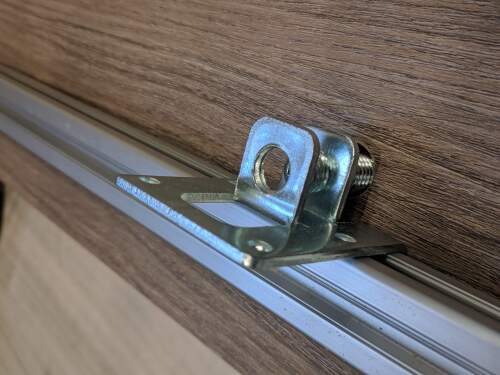
| L (90 degrees) bracket 30mmx80mmx55mmx2mm | 2 | TBD | TBD | 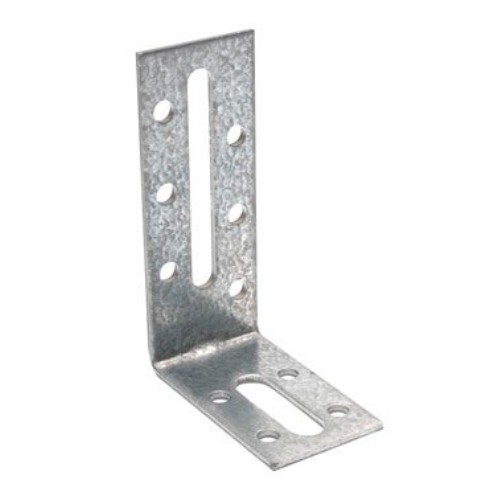 |
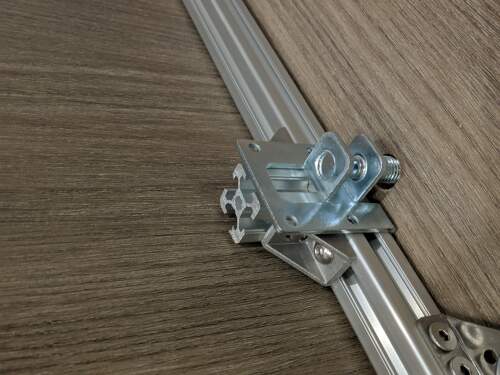
| Heavy 90 degrees connectors | 50 | TBD | TBD | 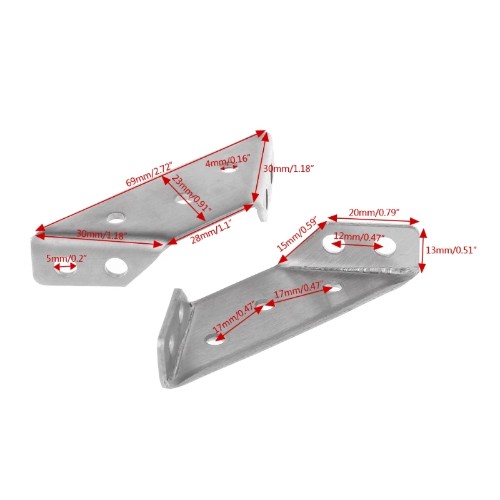 |
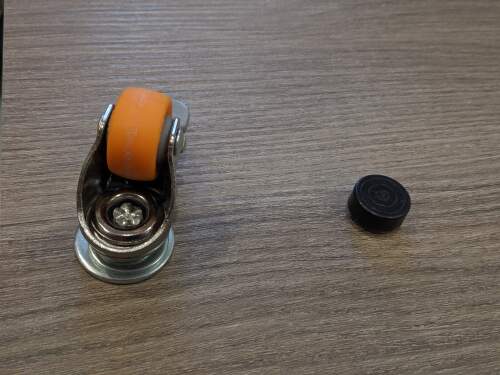
| Heavy floor feets | 4 | TBD | TBD | 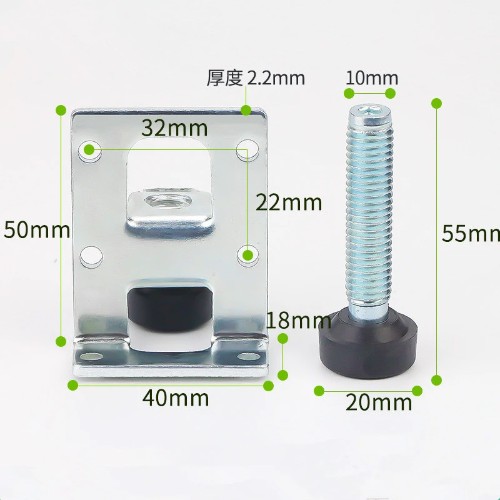 |
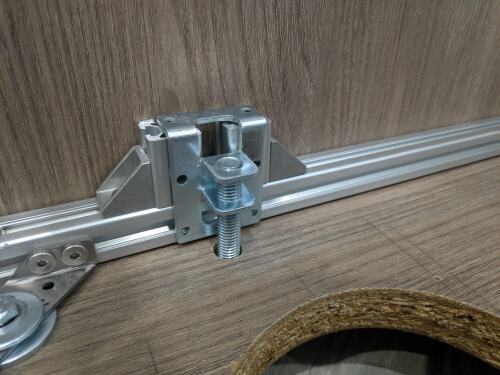
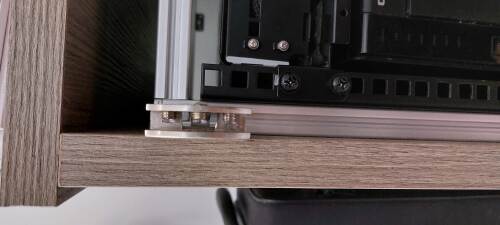
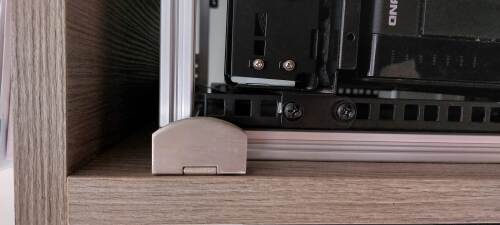
| Upper door shock absorver | 1 | TBD | TBD | 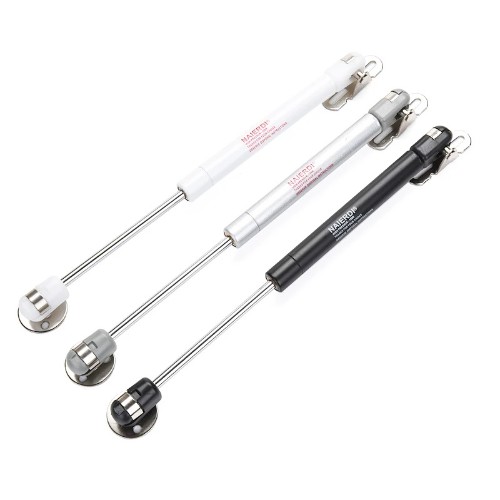 |
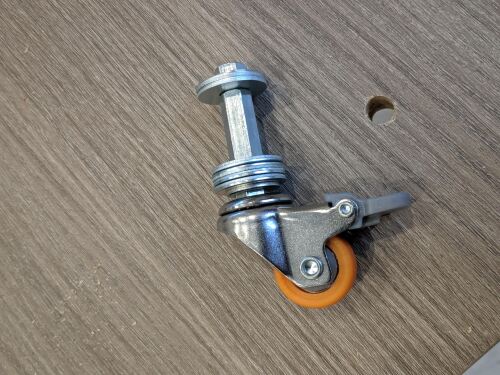
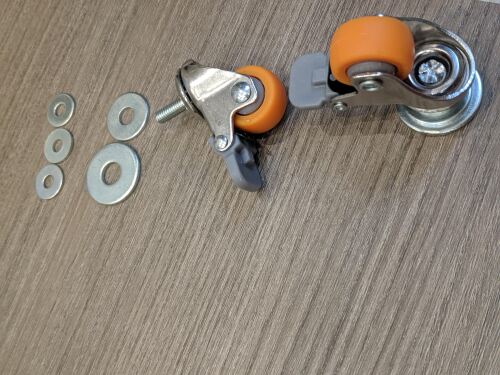
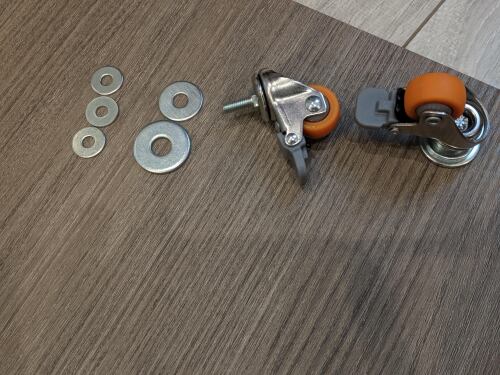
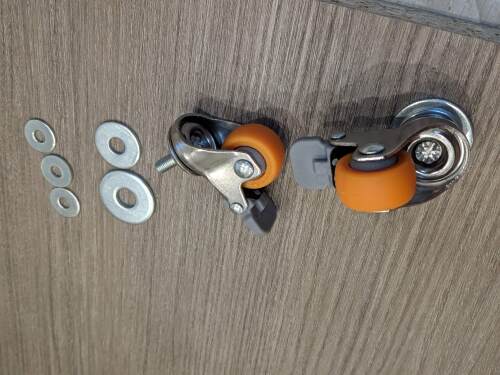
| Nylon wheels (1 inch), M8 | 4 | TBD | TBD | 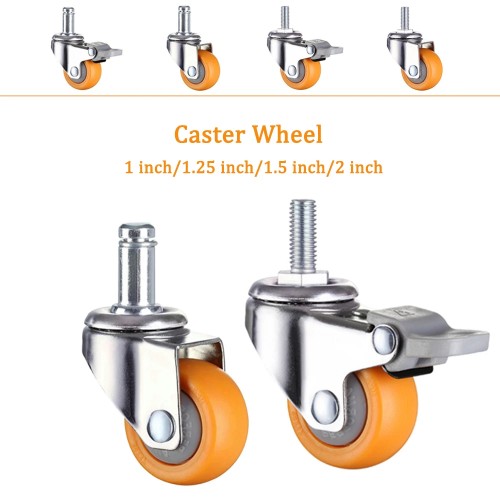 |
| M8 hexagon connector | 4 | TBD | TBD | 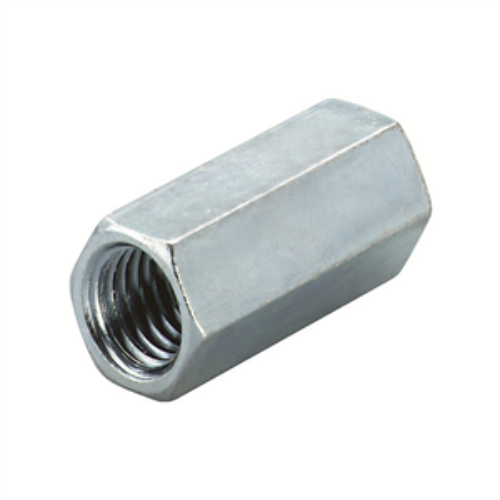 |
| Washers | 50 | TBD | TBD |  |
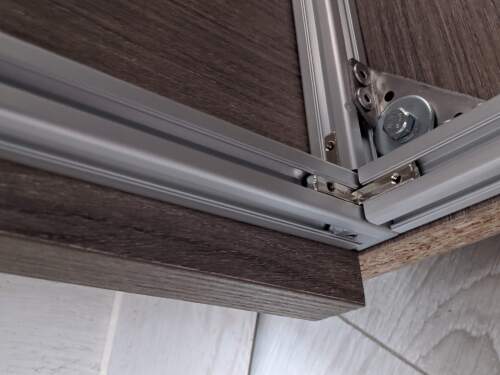
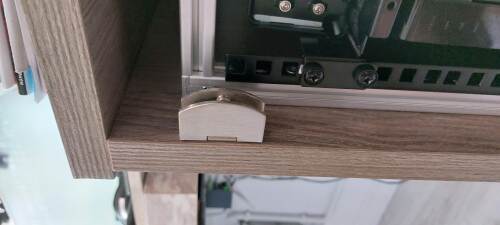
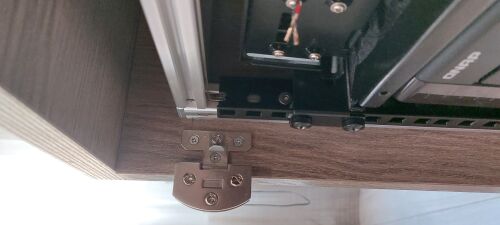
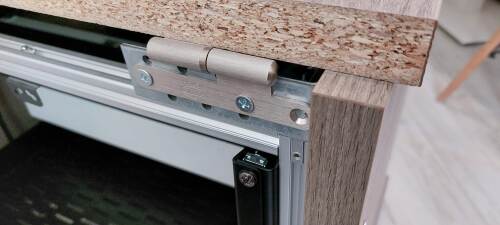
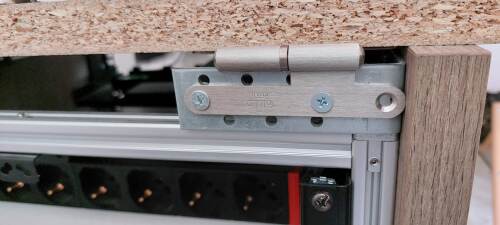
| Hinges | 2 | TBD | TBD | 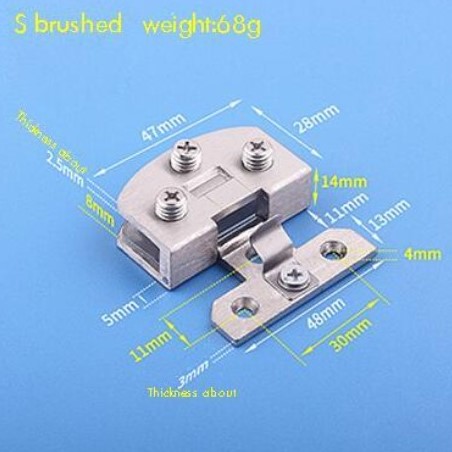 |
| Glass doors (255mmx610mm) | 2 | TBD | TBD | 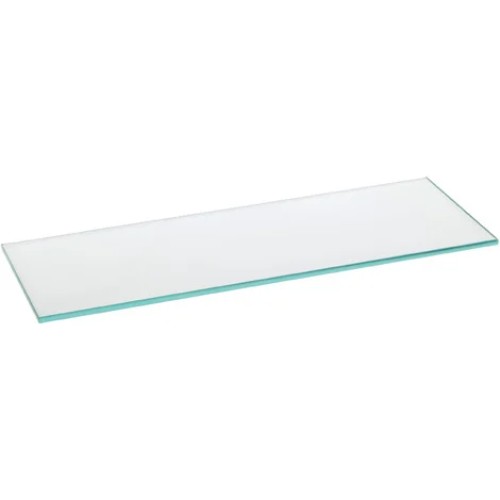 |
| 19” rack profile (2x12U,4x2U,2x4U) | 8 | TBD | TBD | 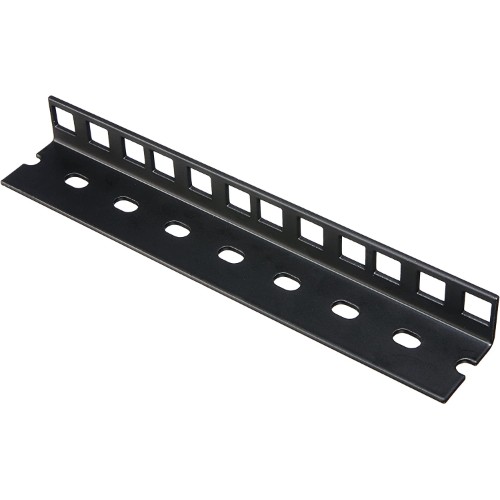 |
| 19” rack shelf (250mm) | 1 | TBD | TBD | 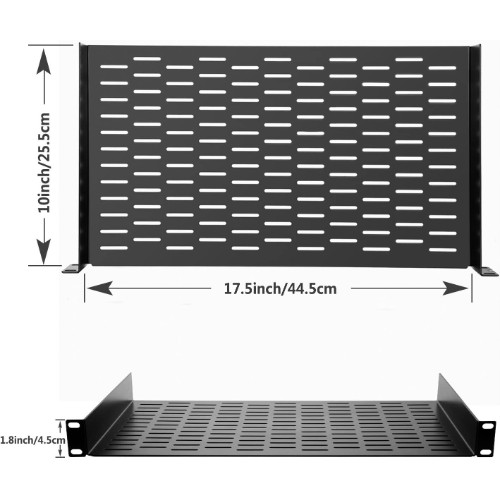 |
| 19” rack shelf (150mm) | 1 | TBD | TBD | 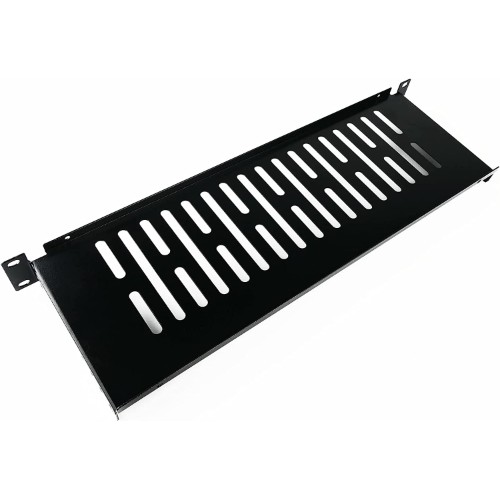 |
| 19” rack power distributor | 1 | TBD | TBD | 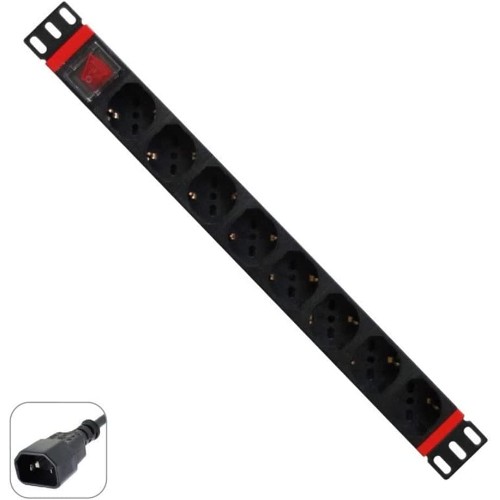 |
| 19” rack rail depth adapter kit | 2 | TBD | TBD | 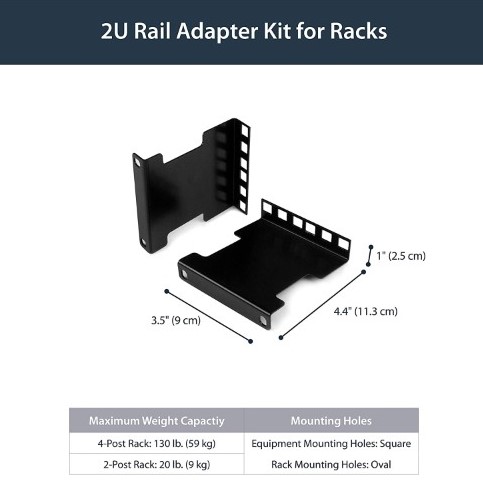 |
In conclusion, the bill of materials (BoM) serves as the backbone of my homelab’s main rack enclosure, providing a detailed roadmap to its inner workings. Through extensive research, careful consideration, and a touch of geeky enthusiasm, I’ve curated a collection of hardware and equipment that forms the foundation of it.
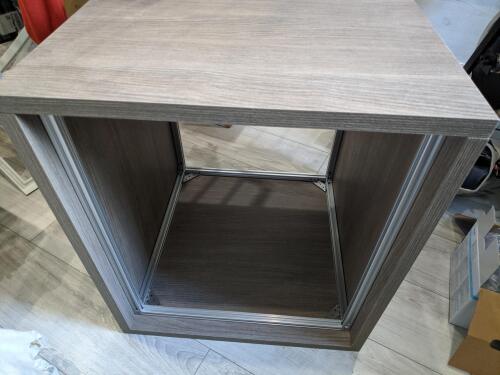
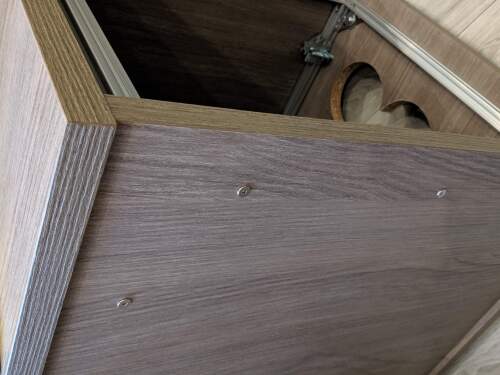
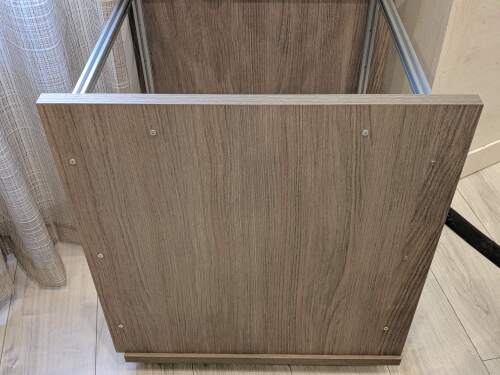
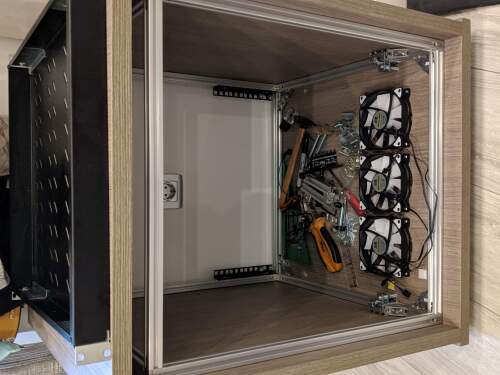
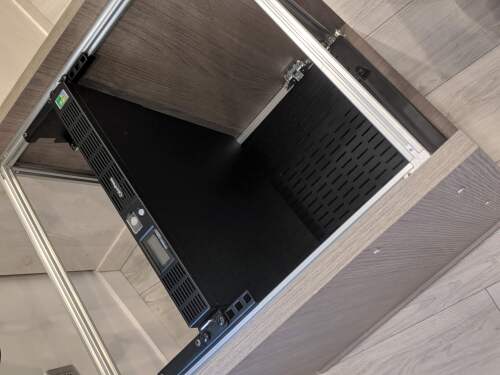
After building the homelab
I’ll like to share the journey I embarked on to build my homelab. It was no walk in the park, but oh , the end result is worth every bit of the sweat and tears. First, I dove headfirst into the technical realm, researching hardware options like a mad scientist on a caffeine-fueled mission. Then came the fun part-trial and error galore!. But hey, that’s how we learn, right? Finally, I had my homelab up and running, ready to tackle any tech challenge thrown my way. So, buckle up, folks, and get ready to witness the fruits of my homelab labor-let the geeky adventures begin!
My homelab build process was an exhilarating roller coaster ride filled with learning, challenges, and moments of pure triumph.
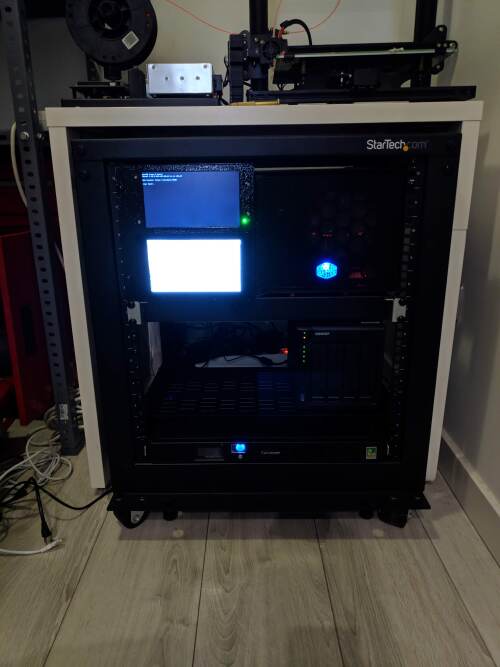
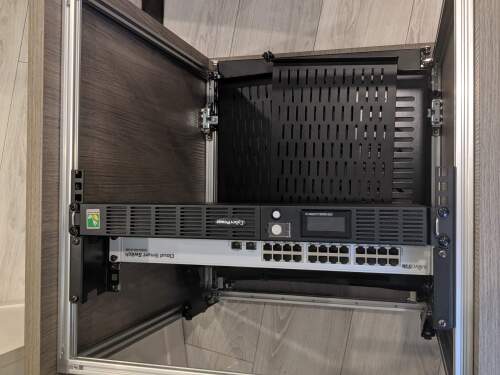
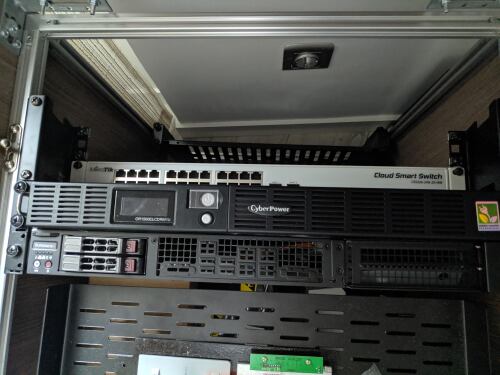
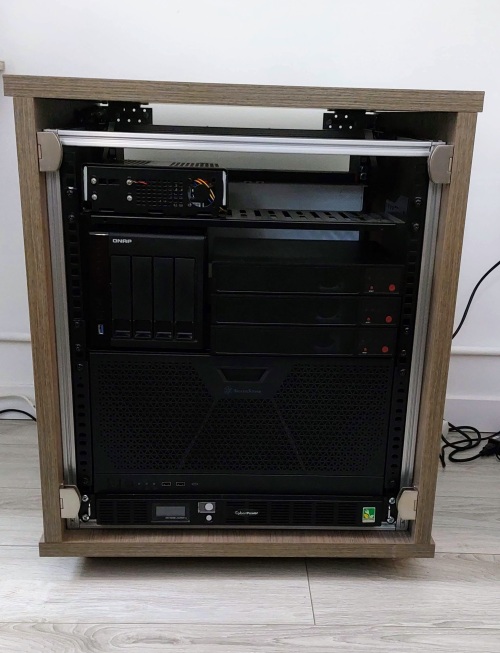
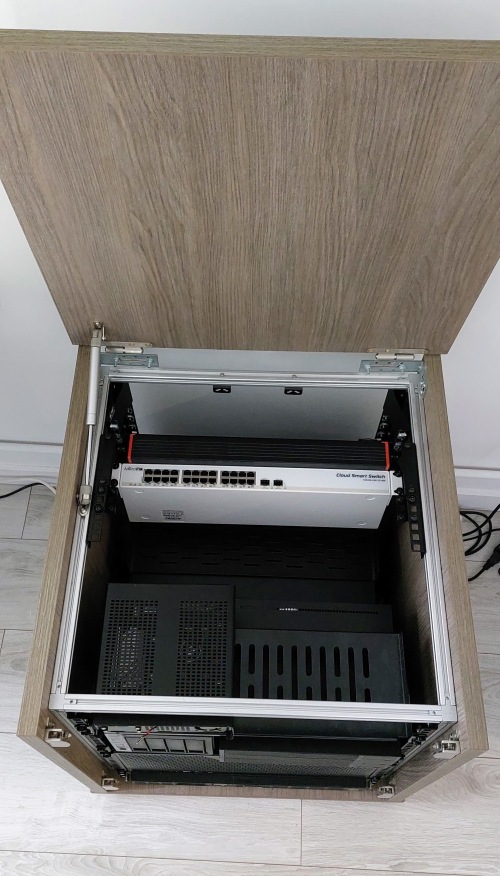
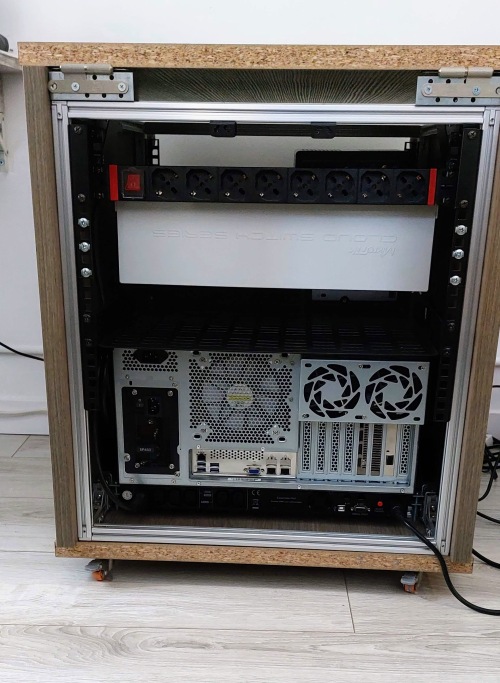
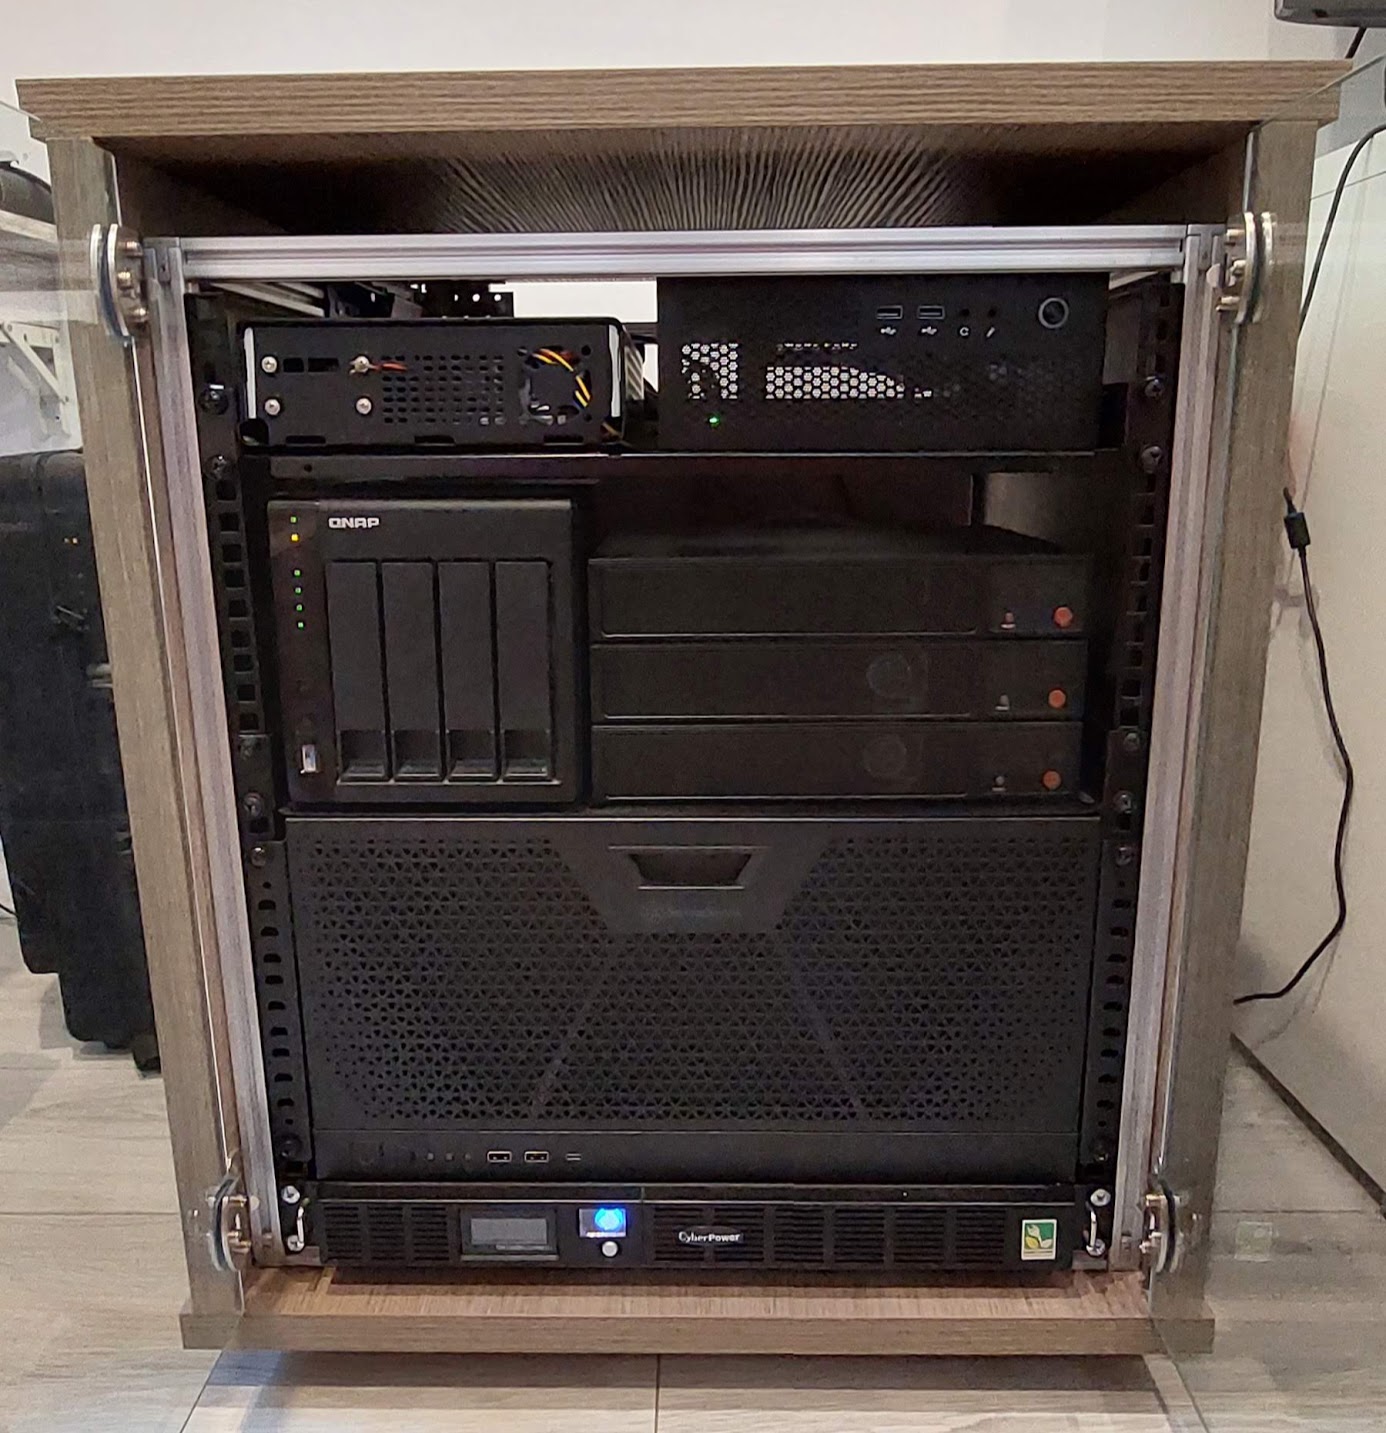
Showcase
After a lot of trial and error, messy cables, I’ve finally created a tech wonderland right in the comfort of my own home. Picture this: a sleek rack filled with powerful custom machines, and blinking lights. I’ve got my own mini data center going on! With my homelab, I can experiment with cutting-edge technologies, host my own services, and learn like a pro. It’s my own little tech playground, and boy, it feels good to have accomplished this. Welcome to my homelab, where the possibilities are endless. BTW all this stuff was 100% sponsored by ME.
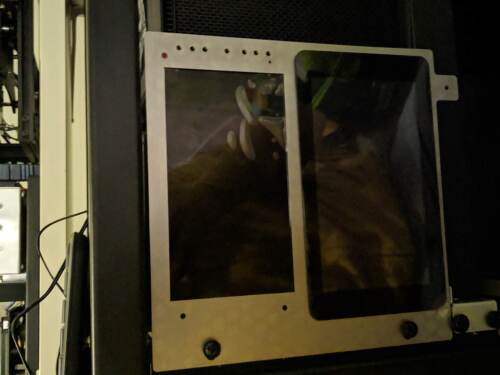
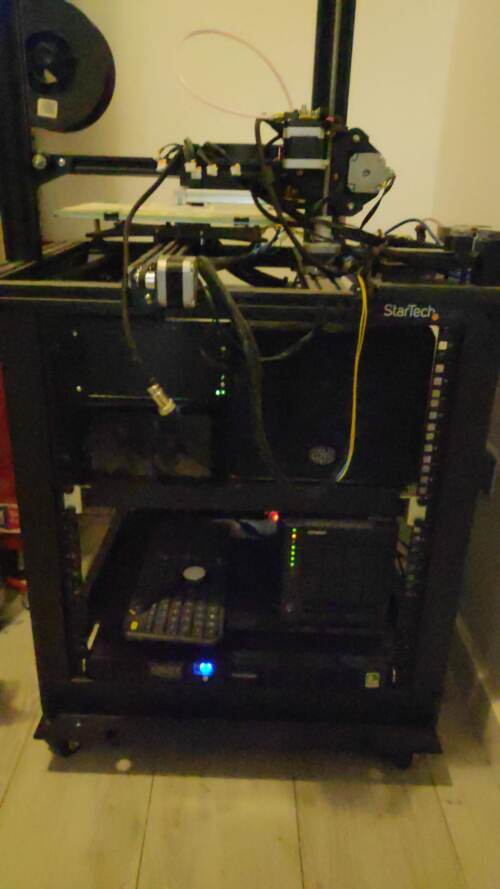
Status
At the moment some pictures of the build…
Deploying
To deploy things here I’m using Ansible, and tools like Kubeinit, these are designed to simplify the process of setting up and managing complex infrastructure, such as Kubernetes clusters, within a homelab environment.
Let’s talk about deployment tools for homelabs, like Kubeinit. These tools are super handy when you want to set up and manage complex stuff like Kubernetes clusters in your homelab. Kubeinit, for example, is an awesome open-source tool that makes deploying Kubernetes a breeze. It takes care of all the nitty-gritty installation and configuration details, so you don’t have to stress about it. Plus, it lets you customize your cluster to fit your needs. And the best part? There’s a friendly community around tools like Kubeinit that’s always ready to lend a hand and share their wisdom.
Kubeinit is an open-source deployment tool specifically tailored for setting up Kubernetes clusters. It aims to provide an easy and reproducible way to deploy Kubernetes in different configurations, such as single-node or multi-node clusters. Kubeinit automates the installation process, handles configuration management, and assists in deploying additional services and tools commonly used with Kubernetes.
Deployment tools like Kubeinit can be highly beneficial for homelab enthusiasts looking to leverage Kubernetes and containerization technologies. They simplify the setup process, reduce manual work, and provide a standardized approach to deploying and managing Kubernetes clusters within a homelab environment.

Update log:
2023/05/26: Initial version.
2023/10/04: Status gallery.
Responses
Want to leave a comment? Visit this post's issue page on GitHub (you'll need a GitHub account. What? Like you already don't have one?!).